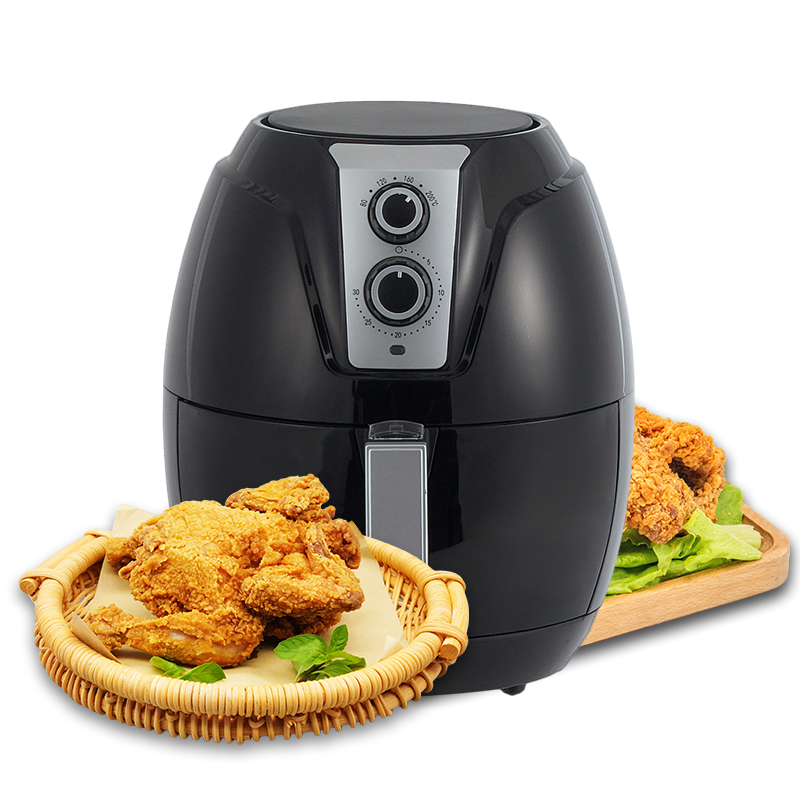
A mini air fryer is a fantastic kitchen appliance that allows you to enjoy delicious fried foods with significantly less oil and hassle. However, like any kitchen gadget, it's essential to keep it clean and well-maintained to ensure it functions correctly and produces the best-tasting dishes.
Safety First:
Before you start cleaning your mini air fryer, always remember to unplug it and let it cool down completely. Handling a hot appliance can be dangerous and may result in burns or other injuries.
1. Detach Removable Parts:
Most mini air fryers come with removable parts that are dishwasher-safe, such as the basket and tray. Start by carefully removing these components and placing them in your dishwasher for easy cleaning. If your appliance's manual recommends handwashing, proceed to the next step.
2. Handwash the Basket and Tray:
If your mini air fryer's basket and tray need handwashing, follow these steps:
a. Fill your sink with warm, soapy water.
b. Submerge the basket and tray in the soapy water and let them soak for a few minutes. This will help loosen any stuck-on food particles.
c. Use a non-abrasive sponge or cloth to gently scrub the surfaces, paying extra attention to any stubborn residues.
d. Rinse the parts thoroughly with clean water to remove all soap residue.
e. Allow them to air dry completely before reassembling your air fryer.
3. Wipe Down the Interior:
To clean the interior of your mini air fryer, follow these steps:
a. Use a damp, soft cloth or sponge to wipe down the interior walls and heating element. Be careful not to damage the heating element.
b. If there are stubborn stains or residue, you can use a mixture of baking soda and water to create a paste. Apply the paste to the stains, let it sit for a few minutes, and then gently scrub with a soft cloth or sponge.
c. Ensure the interior is completely dry before plugging in your air fryer.
4. Clean the Exterior:
To clean the exterior of your mini air fryer:
a. Use a damp cloth or sponge to wipe down the exterior surfaces, including the control panel.
b. If there are any greasy spots or sticky residues, you can use a mild kitchen cleaner to help remove them. Make sure to follow the cleaner's instructions and avoid getting any liquid into the appliance's interior.
c. Dry the exterior with a clean, dry cloth to prevent any water from seeping into the appliance.
5. Empty and Clean the Drip Tray:
The drip tray is essential for catching any excess oil or food particles that may fall during the cooking process. To clean it:
a. Remove the drip tray from the air fryer.
b. Discard any collected oil and food debris.
c. Wash the drip tray with warm, soapy water, or place it in the dishwasher if it's dishwasher-safe.
d. Rinse thoroughly and allow it to air dry before reinserting it into the air fryer.
6. Regular Maintenance:
To ensure the long-term performance of your mini air fryer, consider these maintenance tips:
a. Check the user manual for specific maintenance recommendations from the manufacturer.
b. Inspect the power cord for any signs of damage, such as fraying or exposed wires. If you notice any issues, contact the manufacturer for replacement parts or repair.
c. Periodically check the air intake and exhaust vents for any obstructions. Ensure they are clean and free of debris to maintain proper airflow.
d. Keep the air fryer on a stable, level surface to prevent accidents and uneven cooking.
e. If your air fryer has a non-stick coating, avoid using metal utensils that could scratch the surface. Instead, use silicone, plastic, or wooden utensils.
7. Store Properly:
When your mini air fryer is not in use, store it in a cool, dry place away from direct sunlight and moisture. Ensure it's protected from dust and other contaminants that can affect its performance.
By following these cleaning and maintenance steps, you can keep your mini air fryer in excellent condition, ensuring it continues to deliver delicious and healthy meals for years to come. Regular maintenance not only extends the lifespan of your appliance but also ensures the safety of your cooking endeavors.